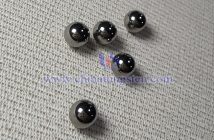
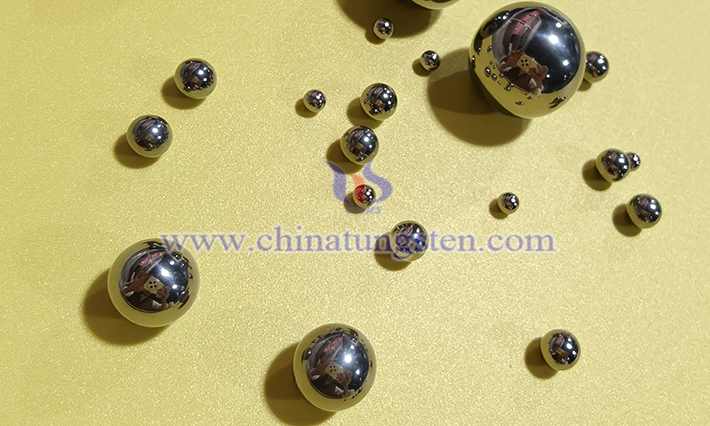
Tungsten beads typically refer to pure tungsten balls, high-density tungsten alloy balls, or cemented carbide balls. Different types have different applications and testing focuses. Common applications include fishing weights, counterweights, bearings, valve balls, shooting/ballistic fragments, and precision grinding balls.
Tungsten bead quality inspection is mainly divided into several categories. The following are the most used inspection items and methods in the industry.
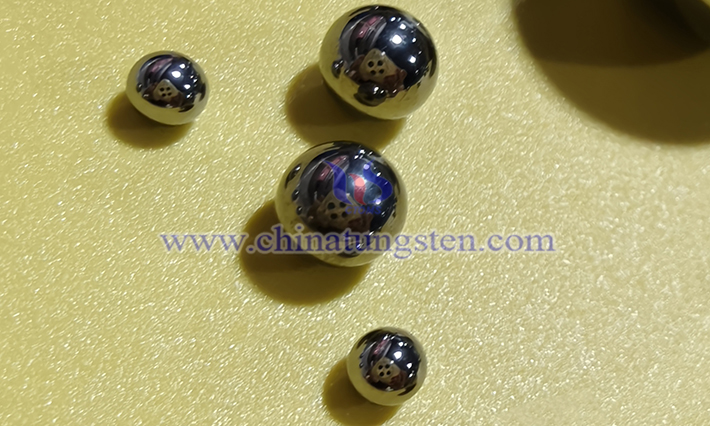
1. Dimensional and Geometric Accuracy Inspection
Diameter/Sphericity: Uses a roundness meter, coordinate measuring machine (CMM), or optical image measuring instrument. Common accuracy grades are G3, G5, G10, G16, G24, G50, etc.
Surface Roughness (Ra): Measured with a surface profilometer. Ra is typically required to be ≤0.02-0.1μm.
2. Density Inspection
Archimedes' displacement method (weighing in air or water, calculating density), simple and reliable. Theoretical values: Pure tungsten 19.25-19.3 g/cm3, tungsten carbide (YG type, containing 6-10% Co) 14.5-15.0 g/cm3, high-density tungsten alloy 16.0-18.5 g/cm3.
3. Hardness Testing
Rockwell Hardness (HRA): Most used; tungsten carbide balls typically achieve 88-92 HRA. A diamond cone indenter is used.
Vickers Hardness (HV): 0.5-30 kgf load, suitable for surfaces or thin layers.
Britson Hardness (HBW): Less commonly used (due to the high hardness of tungsten beads); requires tungsten carbide indenters.
4. Microstructure and Internal Defect Detection
Metallographic Analysis: Observe under a metallographic microscope after polishing. Check porosity, η phase, grain size, and cobalt distribution uniformity.
Ultrasonic Testing: Detects internal cracks, delamination, and large inclusions.
Magnetic saturation (for Co-containing cemented carbide spheres): 15-30 emu/g, indirectly determining Co content.
5. Composition Analysis
XRF (X-ray fluorescence spectroscopy): Rapid, non-destructive determination of major elements (W, Co, Ni, Fe, etc.) on the surface/overall composition.
ICP-OES or chemical titration: Precise determination of W content (destructive).
6. Surface Quality and Appearance Inspection
Visual inspection, magnifying glass/microscope: Inspect for cracks, scratches, spots, and oxidation color differences.
100% optical automated sorting: Commonly used in high-end production lines.
7. Other Performance Tests
Compression/fracture resistance test
Abrasion resistance/corrosion resistance test
Magnetic properties (permeability measurement when magnetic properties are not required)

