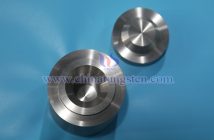
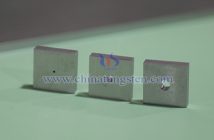
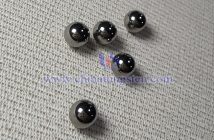
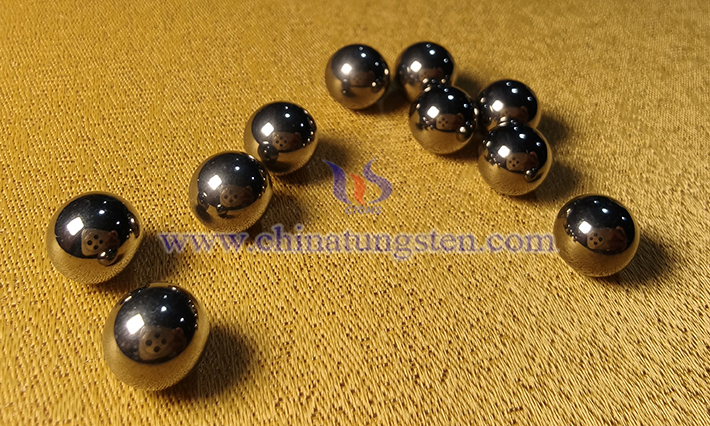
Hardness testing of cemented carbide valve balls is a specialized and meticulous task due to their extremely high hardness; conventional Brinell or Rockwell B and C scales are not applicable. Common hardness testing methods for cemented carbide valve balls include using the Rockwell hardness HRA scale, ultrasonic hardness tester, and micro-Vickers hardness tester.
1. Rockwell Hardness Tester - HRA Scale (Most Commonly Used and Standard Method)
This is the national and international standard method for hardness testing of cemented carbide materials (e.g., GB/T 3849.1, ISO 3738-1, ASTM B294). For cemented carbide valve balls, this is the preferred laboratory testing method.
Principle: Uses a diamond cone indenter with a total test force of 588.4 N (60 kgf). Suitable for high-hardness carbide, ceramics, etc.
Requirements: The sample must have a flat, smooth test surface. For valve balls, this means that a special hardness test sample must be prepared (a flat small piece made of the same material and process as the valve ball), or a small flat surface must be ground in a localized area (such as the two poles of the ball) that does not affect the key function of the valve ball. The surface roughness Ra generally needs to be less than 0.4 μm.
Advantages: Quick operation, high precision, direct reading, high degree of standardization.
Disadvantages: Causes some micro-damage to the valve ball itself (requires preparation of a flat surface), classifying it as a micro-destructive test.
2. Vickers Hardness Tester - HV Scale (Recommended for precise measurement and micro-areas)
Low-load Vickers and Micro Vickers: Particularly suitable for testing the hardness of surface coatings (such as DLC coatings) on cemented carbide valve balls, or for testing specific micro-areas of the valve ball. It can be used to test the hardness of cemented carbide substrates, and the results have a good correlation with HRA.
Principle: Using a regular square pyramidal diamond indenter, the hardness is calculated by measuring the diagonal length of the indentation through an optical system. The test force range is wide (from 10 gf to 100 kgf).
Requirements: Extremely high surface finish is required for the sample; fine polishing is necessary. A small flat surface is also required. Measurement and calculation are slightly slower than Rockwell.
Advantages: Highest accuracy, small indentation, suitable for testing small areas and thin layers, continuous and consistent hardness scale.
Disadvantages: More cumbersome operation and reading than Rockwell; higher requirements for environmental conditions and operator skill.
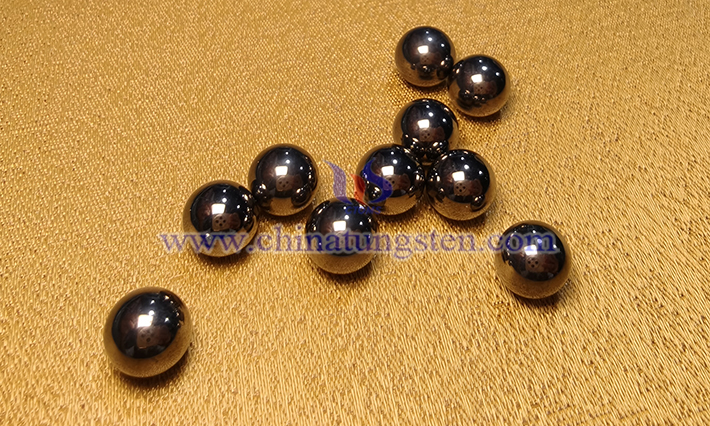
3. Ultrasonic Hardness Tester (Preferred for Non-destructive/Micro-destructive Testing)
This is the best field method for direct, non-destructive testing of finished cemented carbide valve balls. Testing can be performed directly on the curved surface of the valve ball without the need for flat surface preparation.
Principle: Hardness is determined by measuring the change in the resonant frequency of the ultrasonic vibrating rod (with a diamond indenter) on the material surface.
Advantages: Non-destructive, minimal indentation, invisible to the naked eye, does not affect use; portable, the equipment can be taken to the production site or warehouse; fast, a single measurement takes only a few seconds; can measure curved surfaces: specifically designed for bearings, balls, valve balls, and other workpieces.
Disadvantages: The instrument itself needs to be calibrated with a standard hardness block; measurement results are affected by surface roughness and radius of curvature, requiring proper compensation settings; accuracy is slightly lower than benchtop Rockwell and Vickers testers.
4. Leeb Hardness Tester (Portable, Multi-purpose, Use with Caution)
Can be used for rapid on-site screening. Theoretically, it can measure cemented carbides when equipped with a D-type (diamond impact head) and C-type impact device.
Principle: Hardness is calculated by measuring the rebound velocity of the impactor.
Requirements: A model and impact device supporting the measurement of superhard materials must be used. Measurement results are strongly dependent on correct support and impact direction. For small spheres, a special shaped support ring must be used to ensure the valve ball is stable during testing and the impact direction passes through the center of the ball.
Advantages: Very portable, highly adaptable to workpieces of various sizes.
Disadvantages: Lower accuracy and repeatability; requires precise operation techniques and workpiece clamping. Results typically need to be converted to HRA or HV values, but the conversion error is relatively large, making it unsuitable for high-precision arbitration testing.

